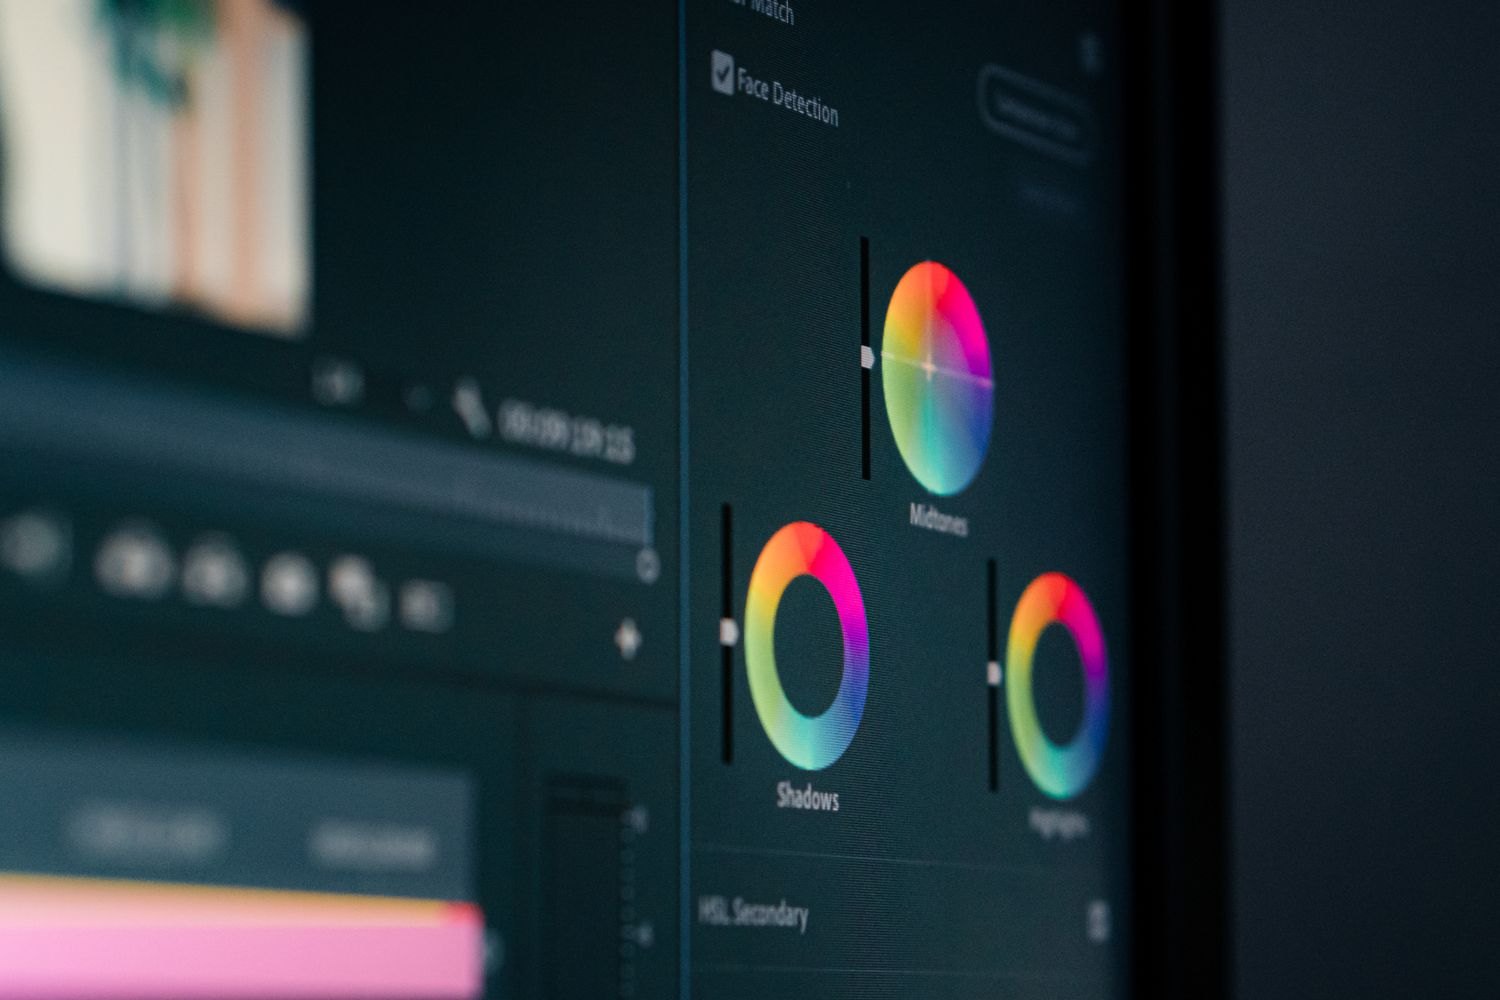
One clip looks flat while another is strongly contrasty. Before applying the same style preset to both, identify their origins. Log footage, already contrasty recordings and HDR files may need different handling. A LUT or look is not automatically an appropriate technical transform. The first task is displaying the material correctly within the intended project.
Establish input and output
Check the profile actually recorded and the intended delivery format. Use the editor's appropriate settings. Applying a transform twice may exaggerate contrast and saturation; omitting it may leave an unsuitable flat image. Compare a known reference clip and document the chosen workflow.
Disable creative effects initially. Assess the source using consistent display conditions. A screen that automatically changes brightness complicates exposure decisions. Scopes complement visual assessment but do not replace deciding how the subject should appear.
Organise brightness and neutral areas
Correct substantial exposure differences without unnecessarily clipping important highlights or crushing shadows. A pale blouse can be brighter than skin; not every surface needs the same target value. Judge the face and important objects rather than only the image's overall average.
Use a genuinely neutral reference recorded under the scene lighting when available. An apparently white object is not necessarily neutral. Temperature and green–magenta adjustments affect the whole image. If only one side of the face has a different cast, mixed lighting may be involved and one global control cannot fully resolve it.
Develop the look afterwards
Once basic rendering is coherent, add the intended atmosphere. Keep this distinguishable from technical correction, for example through separate processing stages. The style can then change without rediscovering every exposure mismatch.
Test the result on several subjects. A look that gives a workshop interesting colour may distort skin or product colours. Reduce its strength or adjust the scene more selectively rather than forcing every shot towards the same extreme. The intended effect should make sense for the content.
Finally export a short passage and inspect it through the intended playback route. An attractive still in the editing window is insufficient. Watch transitions, moving skin and possible banding artefacts. Retain a version without the creative look so later changes begin from an understandable foundation.
Test correction at its limits
An underexposed face can be brightened, but this may reveal more noise. Judge moving footage at the actual delivery size. If correction emphasises coloured blotches or unstable shadows, a slightly darker but calmer result may be more usable than forcing a theoretical brightness target. Another available take may provide a better starting point.
Lowering brightness on a white area with no retained texture does not automatically recover detail; it may merely turn the patch grey. Inspect the original and scopes before spending time on an imagined recovery. The same applies to severe colour problems under unsuitable sources: a neutral background does not prove every product colour has become accurate.
Save one brief version with basic correction and another with the added look. Watch both with someone unfamiliar with the shoot. Ask specifically whether skin and important objects appear plausible rather than only which version looks prettier. This distinguishes an attractive colour treatment from a factually unsuitable rendering.