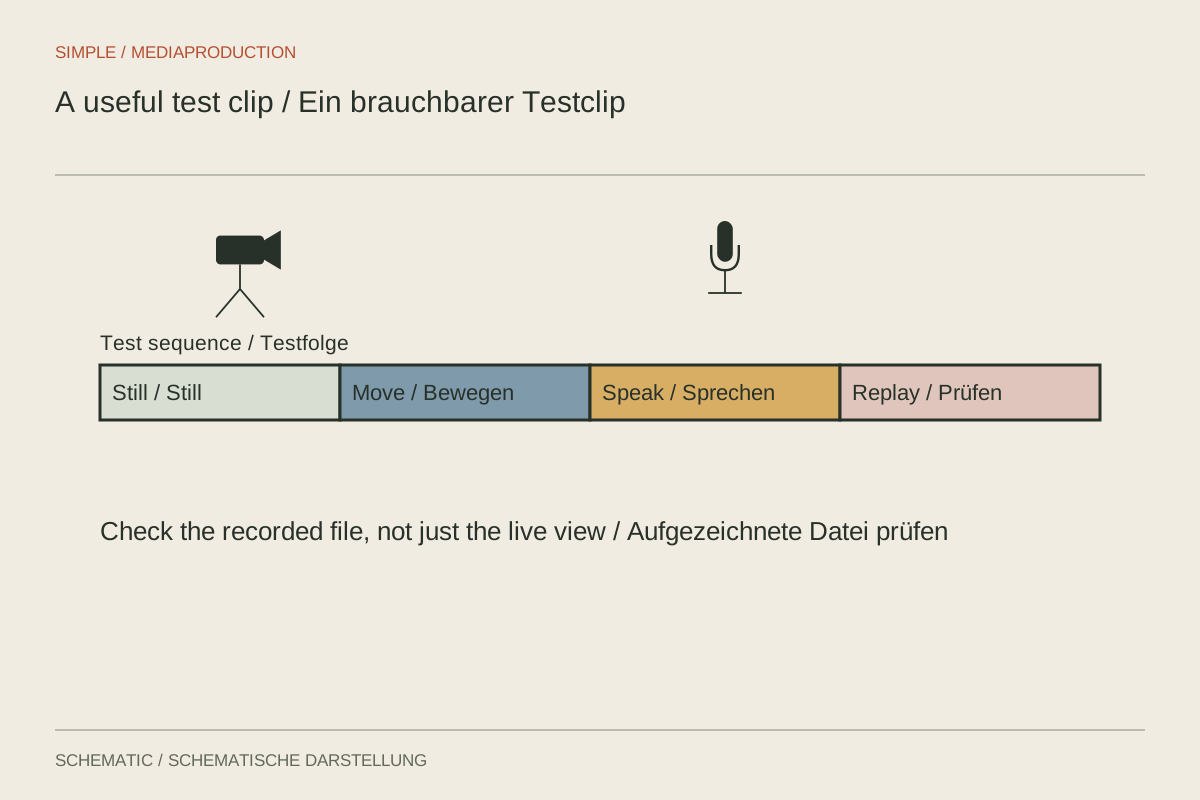
A few seconds pointed at a wall prove that a file can be created. They reveal little about moving focus, flicker, skin colour or clipped audio. Design the test around the risks in the upcoming scene. It can be short, but must include the important conditions. A long take also needs a separate duration trial; a brief image check cannot replace it.
Build a small representative scene
Have the person speak from their actual position and make the largest expected movement. Introduce a relevant bright and dark object. If a screen belongs to the explanation, display its real content. Test hand movements and labels instead of recording only decorative details. The scene should challenge the setup rather than offer only the easiest possible conditions.
Use the intended microphone and record ordinary and somewhat stronger speech. Saying only “one, two” may poorly represent later sentence rhythm and volume changes. Listen for clothing, room noise and cable movement. An active meter confirms signal activity, not intelligible speech, and cannot tell you whether an unwanted sound masks the important words.
Send the file through the workflow
Transfer the clip and open it in the intended editing software. Check frame rate, audio channels, colour interpretation and playback. If using log or HDR, include the planned conversion. A flat preview may represent a correct source, but an incorrectly handled export remains a problem regardless of how the original was recorded.
Make a short output with the intended settings and play it outside the editor. This reveals issues introduced during export. For a vertical version, inspect crop and captions too. Successful import is only one part of the chain, not its endpoint, and a preview inside the editing application may conceal an incorrectly configured delivery.
Record repeatable findings
Label the sample with a setup or test number and note the essential settings. Describe a difficulty specifically: “Focus switches when the product is held up” is more helpful than “autofocus bad.” Change one parameter and repeat the same section. Only then can the improvement be connected to the adjustment rather than another unnoticed difference.
Once the setup works, save the settings and begin filming. After a relevant change, such as another lamp, lens or recording format, recheck the affected part. A test describes particular conditions; it is not a permanent certificate for the camera as a whole or a reason to ignore changes introduced later in the day.