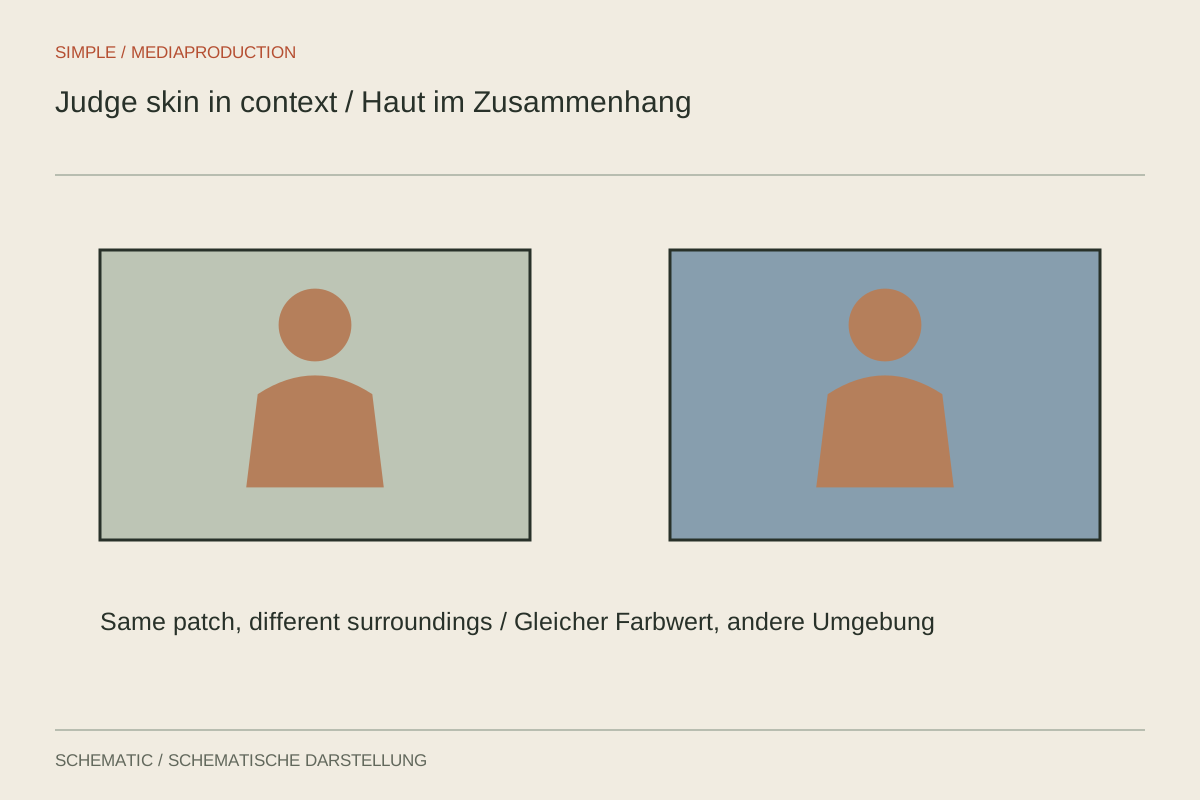
Two people under the same lamp do not have identical skin colour. Even one person's forehead, cheek and neck differ. Colour correction should therefore not manufacture a universal sample colour. Its task is to identify unintended changes while preserving a believable relationship between the face, its illumination and the surrounding scene.
Find a meaningful comparison
Start with a shot in which the face is clearly visible and the lighting is representative. Compare other shots of that person against it. Consider camera distance, head direction and shadows: a turned cheek may genuinely receive less light or light of a different colour. Such differences can remain when they belong to the situation.
Inspect the whole recording first. Incorrect white balance or a duplicated colour transform usually affects more than skin. Correct that foundation before making a narrow selection around a face. Otherwise, a plausible face may sit in an implausible environment, and the surrounding edits will still fail to match.
Give measurement tools a limited job
A vectorscope can reveal a colour shift, but it cannot decide the correct appearance of a person's skin. A reference line is not an instruction to move every pixel onto it. Makeup, reflected clothing, coloured walls and the actual lighting all affect the distribution. Judge brightness separately from hue and saturation as well.
For comparison, temporarily isolate a similar cheek area in each shot. Avoid glossy highlights, deep shadows and lips when judging the general impression. Remove the measurement mask afterwards and watch the whole face moving. A correction that works only on the selected still frame is not yet finished.
Check selective corrections in motion
With mixed lighting, a restrained local correction may help. Inspect its selection at difficult moments: does the person turn, move a hand across their face, or stand against a similarly coloured wall? Visibly wandering mask edges can be more distracting than a small remaining colour cast.
Briefly disable and enable the correction several times. Look at the eyes, lips and transition towards the neck. Grey-looking skin may indicate excessive desaturation. If the face appears orange, examine the overall look before adding another opposing adjustment and making the correction chain harder to understand.
Take a short visual break during extended grading sessions and review neighbouring shots together. Preserve individual differences between people. The objective is a coherent film in which colour and light remain understandable, rather than a collection of faces forced into the same appearance.